Whether new to Sage 100 or quickly seeking a refresher on which forms to use for submitting 2019 1099s and 1096s, as a Sage 100 (formally MAS90) Certified Consultant, allow me to simplify the process for you.
Here is a quick review of the forms and steps required for less taxing preparation. You will need the 4-part, blank, perforated 1099 and 1096 forms for recipients, as well as other required forms from the IRS. There is a highly informative article at Sage’s support website (linked below) that provides exactly which forms are needed to purchase. LINK to Sage KB Article 52202
Printing of 1099s and 1096s:
Sage 100 current versions use Aatrix, a service employed by Sage and available to those with a current Sage support/maintenance plan in place.
For 1099 and 1096 printing, we’ve include more detailed instructions below:
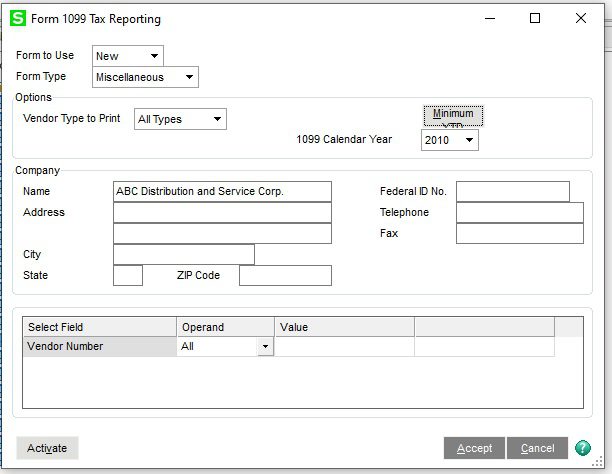
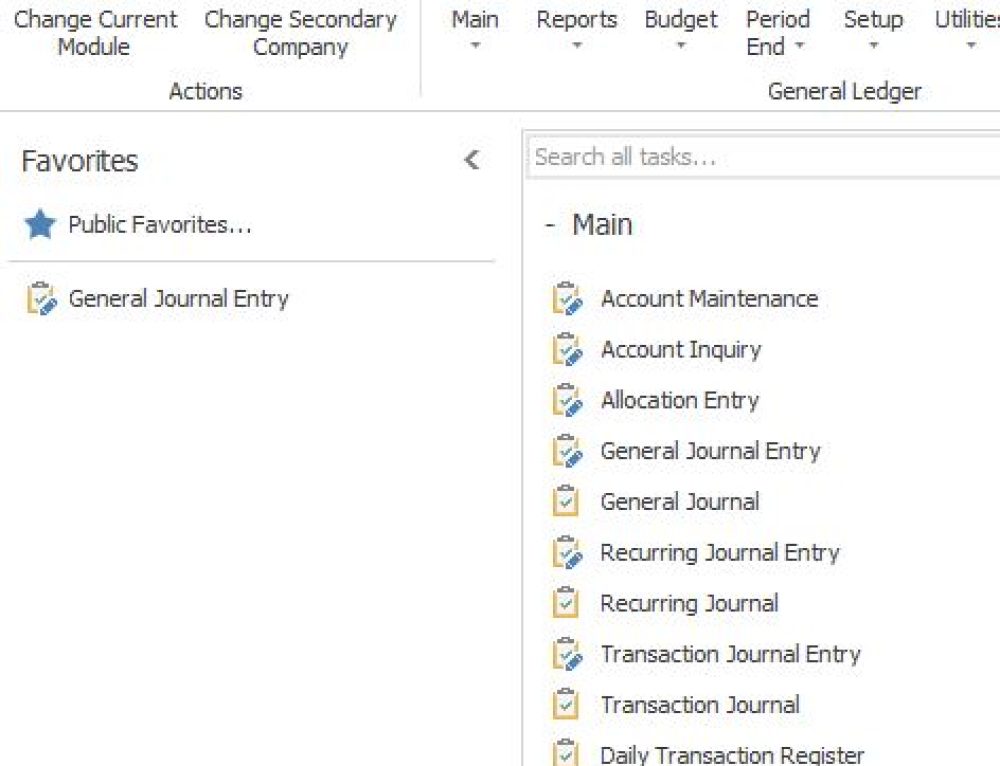
Modules>Accounts Payable>Reports>Form 1099 eFiling and Reporting
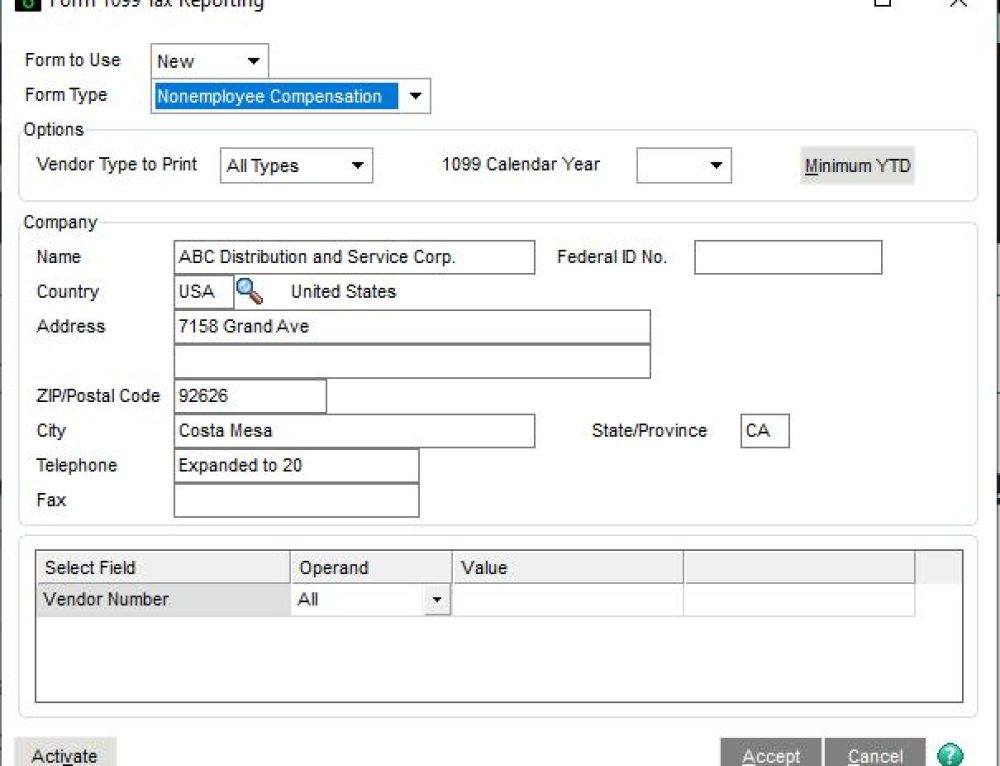
On the 1099 form, set the Form type to Miscellaneous with the correct year and Minimum YTD amount of $600. Then, click Accept. If there are new forms, you will want to click the Automatic Update button on the next screen.
On the 1099 Setup Wizard, you can choose the Test Drive for printing 1099s. If for the first time, I suggest you test drive, and output sample prints on plain paper. Click Next, and there will be a series of questions to answer in the Wizard. Usually the default answers are sufficient.
The screen will show Verify Recipient information in spreadsheet format. Click the green Next buttons, and verify the information. Note that if there
are errors in the data, Aatrix will mark the error and require its correction, before moving forward. For example, if you do not have a Tax ID number, it will be highlighted in red.
You should continue to click the green Next button. If you wish to enroll in Aatrix’s e-Filing, you can certainly do that. Simply click Next to move past the ads.
On the Print Options page, select Other Options, then choose Print the 1099s and 1096s. Then, click Next four times. Aatrix will preview the 1099s on screen. You can click Print Final, then Aatrix will instruct you on which type of paper to insert, followed by Print, and click Next Step. The system will repeat this process, until you have finished printing the 1099s. Congratulations, you are done at this point.
Modules>Payroll>Period End>Federal E-filing and Reporting
If you have questions, please contact us at www.caserv.com or 760-618-1395. Please stay tuned for more helpful Sage 100 ERP tips.
Mike Renner – Partner
WAC Solution Partners
local: 760.618.1395 | toll free: 866.400.0WAC (0922) | mobile: 253.861.3120
Expertise with Local Roots and National Reach.
